GCP. What? When? & Why?

Table Of Content
1. What is GCP?
2. Why use?
3. When to use?
4. GCP vs Local Machine
5. Creating a GCP Account
6. Setting Up Instance(Virtual Machine)
7. Loading Dataset on GCP.
What is GCP?
GCP is an acronym for Google Cloud Platform. It is the cloud service provided by the google which runs on the same infrastructure which is being used to run Google’s Gmail, Youtube and Google search.
In easier terms, google provide us with an online platform where we can build our own configuration for a machine like configuring the processor, ram, storage and GPU.
[Q]. What makes Google cloud platform special?
[A]. There is not just a single reason but there are many.
- Google’s super security prevents our data from getting corrupt or lost.
- As Google has a vast network around the world it provides us fast, consistent and scalable performance.
- Billing by seconds: As google charges for seconds so if I use GCP for 42 seconds then I won’t have to pay for the whole 1 minutes. These may sound funny but when you have a high configuration instance then it may benefit you a lot.
- The most important and best thing about GCP. It provides each account with 300$ of credit for a year. Which can be utilized to pay the charges of VM.

5. Google’s Datacenter works on almost 50% of energy compared to other data centres making GCP environment friendly. So why not be a good citizen and use GCP.
Why use GCP when I have my own system with a good configuration?
This is a very obvious question that should strike our mind. So the reasons to use GCP may vary from person to person depending upon there needs.
- You may have high configuration system but the configuration we can get in GCP that’s unbelievable. One can create a system with up to 96 cores. With almost unlimited storage and around 600 Gigabytes of RAM.
- Remote Access: Another reason to use GCP is it provides us with remote access. Suppose you are working on some project but you had to go somewhere in urgent will you waste the free time there? No, with GCP you can just log in to your GCP account and keep working on your project.
When to use GCP?
- You are a student working on ML and DL projects. You have to work on the dataset as huge as 120gb surely Jupyter Notebook or Collab won’t help you. So the best choice you got is GCP.
- You are serving a deadline for your college project and you moved out of town for some reasons. How to work on the project so use GCP at initial stages so that you can have the remote access to your project.
- You build an application that works really great and you want to make it accessible to everyone. How will you do that? Deploy it on your Google Cloud Platform.
Local Machine v/s GCP
Talking about my personal laptop here are my local and GCP configurations available.
- Processor: Intel i3 v/s Intel high-end processor
- RAM: 8gb v/s 240gb
- Storage: 1 Terabyte v/s Almost unlimited
- Storage Type: HDD v/s Both HDD and SSD
- Number Of Cores: 2 cores v/s Up to 96 cores
- Accessibility: Limited v/s Can be accessed from everywhere with an internet connection
There are many more reasons which make GCP best choice over Local Machine.
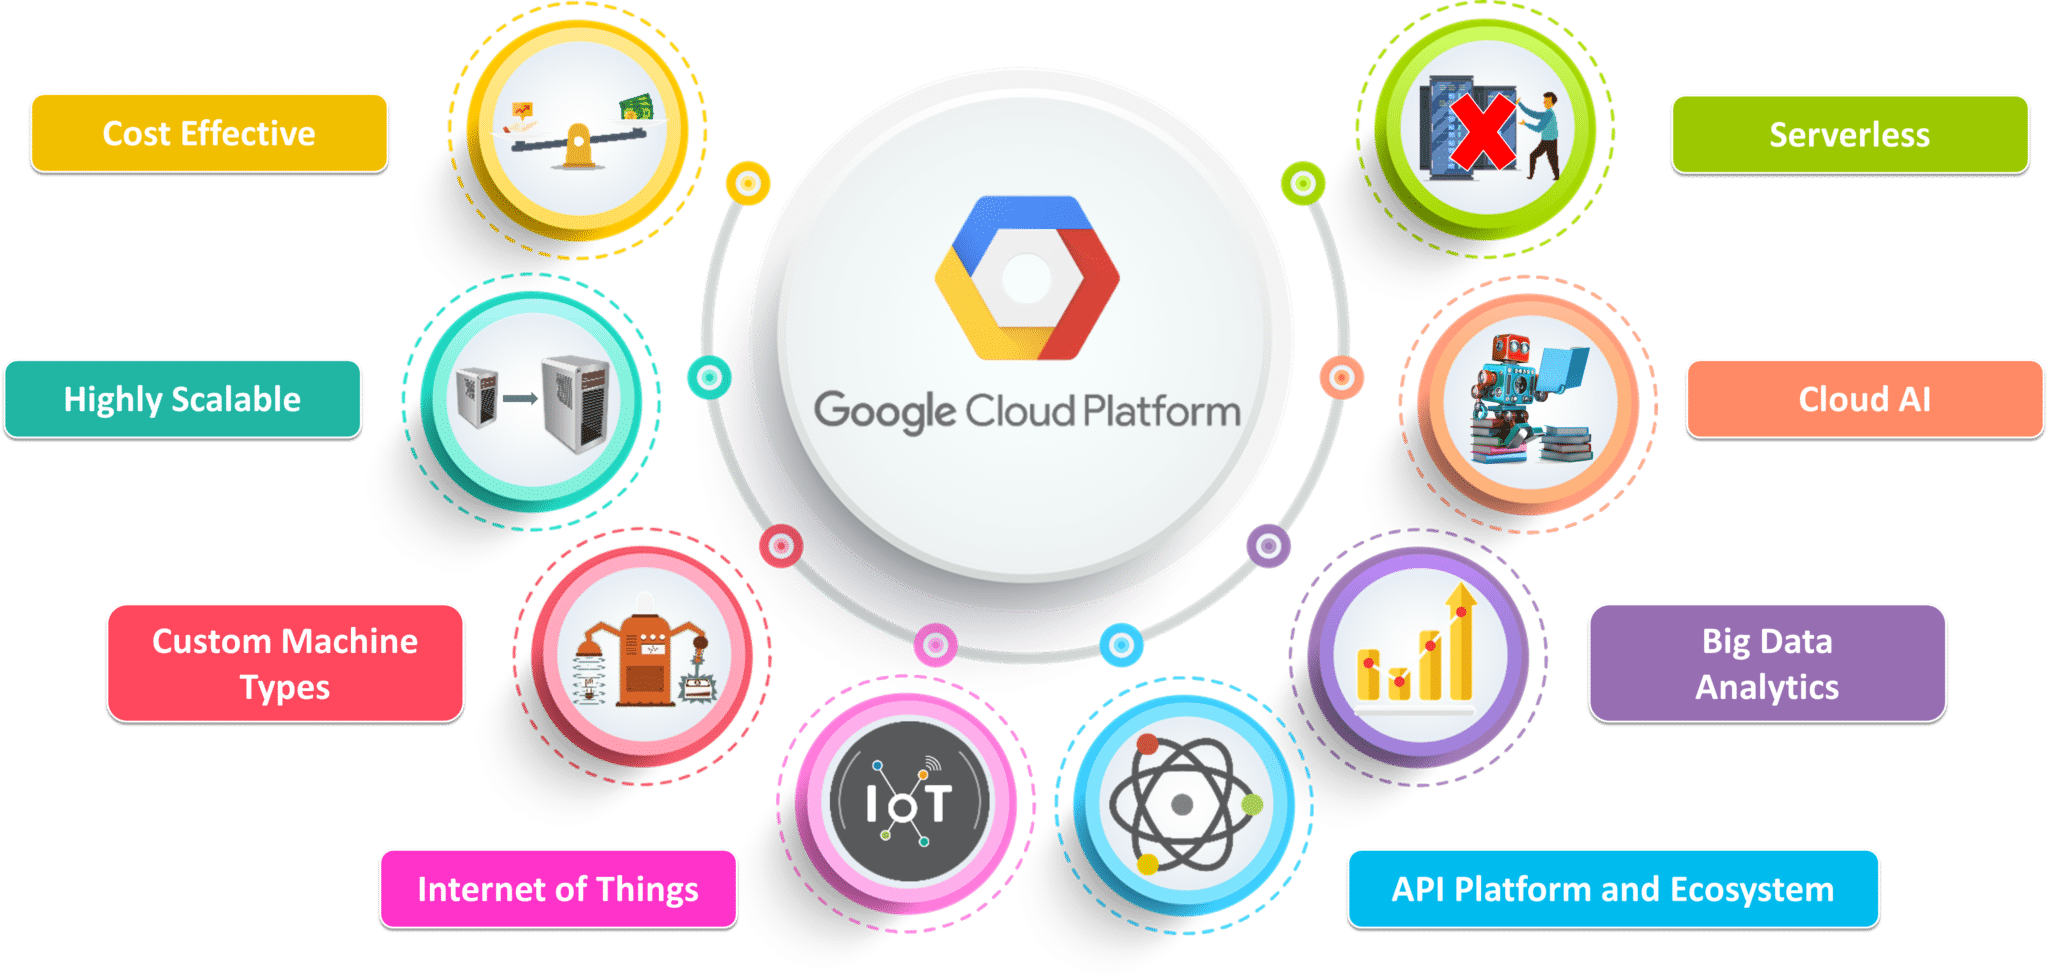
Other features of GCP are:

Creating a Google Cloud Platform(GCP) account
Requirements:
- Smooth and Steady Internet Connection.
- Credit Card or Kotak 811 Debit Card
Steps to create GCP Account are:
- Search for “GCP Account Signup” on google. You will reach below the page.

If you already have a Gmail account just signup or click on “Create account” you will land in this page.

Fill all your details and click on next.
2. Since I had an account already, I logged in. Once you login you will see this page in front of you.


Now, click on “Try For Free”. Then you will be asked to select your country from the dropdown and accept terms and conditions.
On clicking “CONTINUE” you will land into a new page which will look like this

Select Account Type = Individual(If you are a student or working professional). Tax Information=Unregistered Individual.
Below this, you will have to fill your personal details like Name, Address and Phone Number.
Then you will be asked to enter the card details. You will have to enter your Credit Card or Kotak 811 Debit Card details or you can enter any card details which allows automatic transactions.
You will receive OTP and other stuff and then you will have to upload a picture of your card as shown on the next page and then wait for your account to get approved.

Congratulation! Your account is successfully created.
Setting Up Instance Or Creating a Virtual Machine.
You will see a Dashboard like this

We will have to set some firewall rules before creating an instance.

Navigation Bar < Scroll Down < VPC Network < Firewall
Now click on “Create Firewall Rule” at the top of the screen.

You can choose any Name you will have to put below filled as it is.
Targets(Dropdown): All instances in the network.
Source IP range(Text Box): 0.0.0.0/0
Select TCP(checkbox) and set its value to “8888”
Click on “Create”.
We are done our firewall rule has been set up.
Now let’s create Instance(Virtual Machine)
- Follow this path Navigation Bar < Compute Enginer < VM instances.
- Now click on “Create Instance” icon in top mid of screen.

Name the instance whatever you want.

And use the same values for Region and Zone as this particular Zone supports GPU.

Select Compute-optimized, then select any Machine Type Memory here is RAM and vCPU is the number of cores. Then click on Boot Disk.
If you are using the VM for Machine Learning/ Deep Learning task, select operating system as Deep Learning on Linux from the dropdown.
In version, there will be many version you can select any as per your choice.

Select Boost disk type if you want normal storage you can select Balanced Persistent Disk. If you want high-speed storage you can select SSD Persistent Disk. Then enter the size for your HDD or SSD.

Enable the HTTP & HTTPS traffic.
After selecting everything. In the Top Right Corner, you will see the monthly cost. But this won’t be the real as it is the cost when you will use your VM for 24*30. So, the real cost will be much lower than this.

Now click on “Management, security, disks, networking, sole tenancy” and turn on the “Preemptibility”. By turning on the Premptibility the cost reduces to almost less than half of the original.

Here is the cost after turning on the Premptibility which has reduced from 122.37$ to 24.67$ At last click on “create”.
You are done. Your Virtual Machine has been created.
[Q]. How to start it?
[A]. Follow below few steps.
- Click on the SSH. This will launch a terminal.
Now to open the Jupyter Notebook enter this command as it is.
jupyter notebook — ip=0.0.0.0 — port=8888 — no-browser &
2. Now copy the External IP and paste it on a new tab followed by a port number which is “8888” like this
34.74.29.197:8888/

As you will press the enter you will see a Jupyter notebook asking for a password. You can get this token in the terminal in which you pasted the Jupyter Notebook command. Copy the token and paste it on the page.

Once you paste the token and press Enter the Jupyter Notebook will open up in front of you.
Finally, we are done with pretty much everything
Last but not least: Loading the data into GCP’s notebook
There are two ways of doing it one be the fastest and other is the usual way.
- Click on the upload button on the Jupyter Notebook and select the file from your local machine. This is good way to upload files if files are small in size. What if files are in Gigabytes?
- When the file size is large and we want to upload it on our notebook so the best way is to download an extension from chrome store “CurlWget”.

Now visit the site you want to download data from. Now follow these steps.
- Click on download.
- As the download starts cancel it.
- Now click on the curlwget icon on your browser.
- You will find some content in it just copy that content.
- Now paste this on your notebook with ! before the content.
- Now execute the cell. It will hardly take a minute to download the 1gb file in your notebook. If you want to store it in your local machine then select that file in your notebook and click on the download option on top right.

Warning: Never forget to stop the connection by clicking on the checkbox in front of your instance and then clicking on the stop symbol at the top once you are done using the Virtual Machine. Not doing so will keep charging you.

Conclusion:
The aim of writing this blog was to help the ones who are new to GCP and face many difficulties setting up everything.
These was the best of my efforts to explain things in the simplest manner. If you find something missing or incorrect you can let me know in the comment section
